
Menu
Install the TWAIN interface driver that came with the scanner and then attach the scanner to the PC. Follow the scanner instructions on how to do this. Test the scanner is working in Windows. For scanners that do not have TWAIN drivers and instead produce PDF documents to a folder location, see the knowledge base article ‘Multi-function device (MFD) Scanner Setup’ - read here.
To setup the scanner, click on the 'Connect Settings' icon in Papercloud Elite.

Select the 'Scanner' tab and open up the drop down under 'Source' / 'Device'.

Select the scanner driver. In the below example, ‘FUJITSU fi-6130’ is the installed scanner driver. Do not select the Windows driver ‘WIA-fi 6130’. These Windows drivers usually start with WIA.

Once selected, click 'OK' in the ‘Scanner’ window.
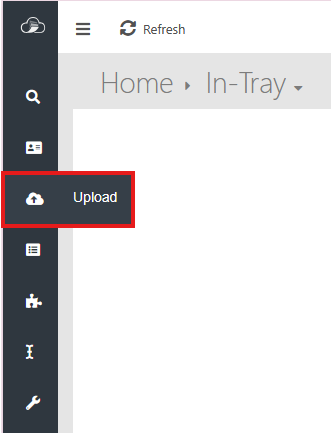
To use the scanner, click on the 'Upload' icon in Papercloud Elite.
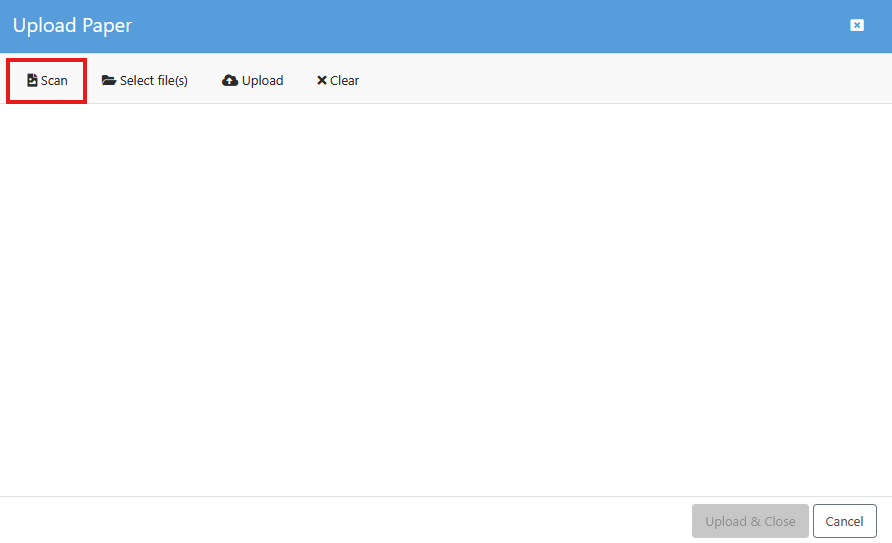
Click the 'Scan' button to start scanning.
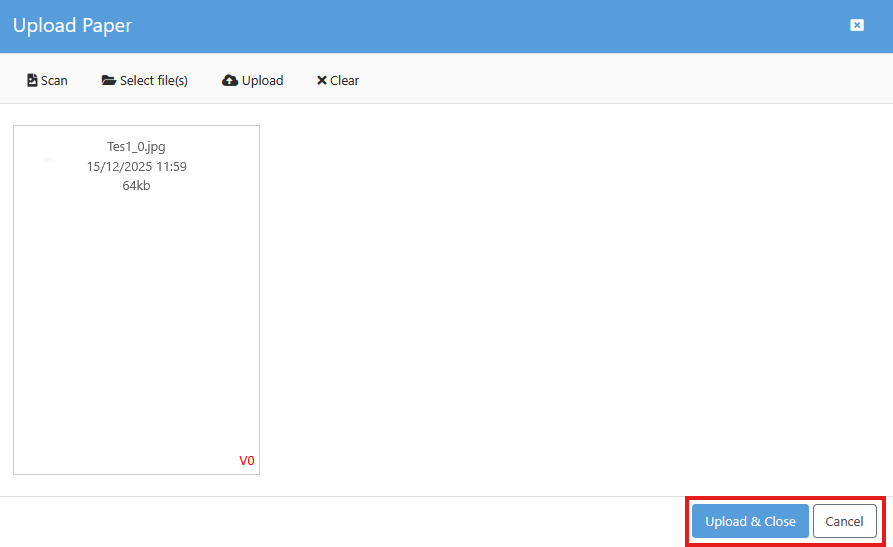
If you are happy with the scan, click 'Upload & Close' to transfer the images to your 'In-Tray' or click 'Close' to discard the scan.
If you need to adjust the scanners settings, tick the 'Use device interface' tick box on the scanner setup page.

Now when you scan, the scanner’s settings will appear. Each scanner’s settings window is unique to that device. Consult the scanner instructions for further details on how to adjust its settings. It is recommended that the scanner is set to scan in Black & White (TIF) with a 200 DPI resolution and in Duplex mode if supported.