
Menu
Papercloud allows you to create client portals which allow your clients to connect directly with your Papercloud system to view and share files.
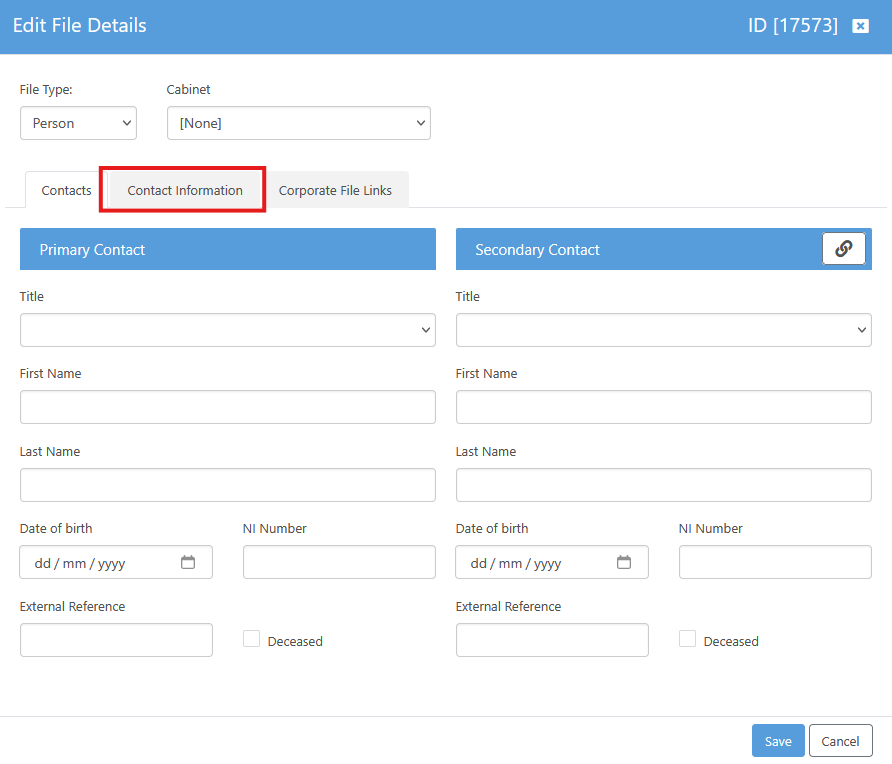
To allow a client to access a portal, you will need to add a valid email address for the client to their file in Papercloud Elite. Find the client file in 'File Manager' and click the pencil icon to edit.

If you already have the file open, use the pencil icon at the end of the file banner.

On the 'Contact Information' tab add at least one valid email address and 'save'
In the client file, click the 'Portal' link at the top.
Choose the relevant email and click 'Create User'.
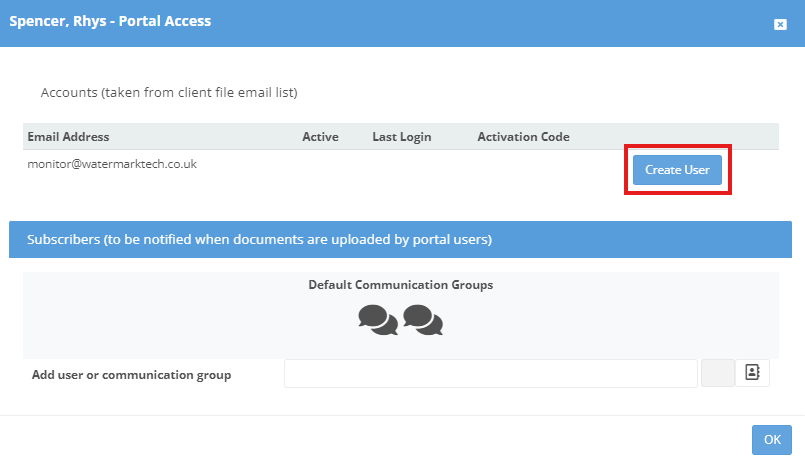
The system will then show that the portal user is active and display their 'Activation Code'.

In the 'File Manager' view, you will see a tick on the portal column to indicate that the file has a portal user set up.
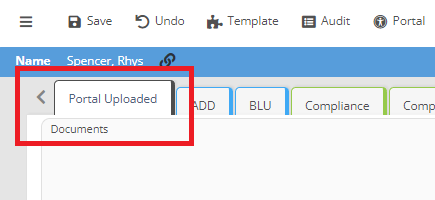
You will also see when you navigate back to the client file that a new default tab and row have been created that the client will be able to access.
The portal user will get an email sent to the address used to create the user.
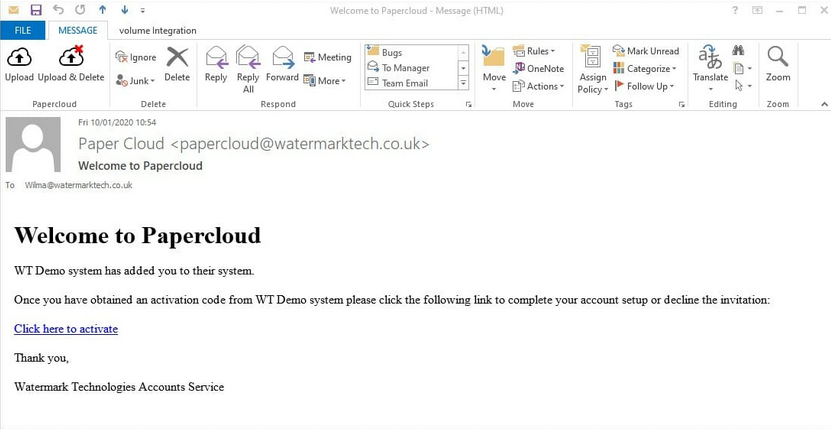
They click on the 'Click here to activate' link and will be taken to the registration page.
They need to enter the email address the email was sent to, name, add their preferred password and enter the activation code that was made when the portal user was created. This activation code needs to be given to the user separately. This is a security measure, as the email could be intercepted but it is useless on it's own.

NOTE: The email will expire after 7 days, so if they do not use the link in that time you will need to 'resend' the invitation from the 'User Maintenance'->'Portal' page.
If they fill in all the boxes correctly the registration process will complete.
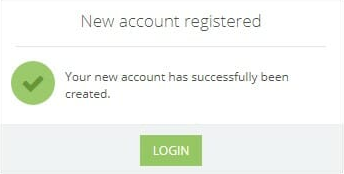
NOTE: If they complete registration successfully, the option to resend the invite will disappear.
If they forget their password, they can use the 'Forgot password?' link. A new reset password link is sent by email when the correct email address is entered.

When a portal user logs in, they have only one tab item and that is to upload documents via whichever supported method they choose. By default, all they will see is the shared 'Portal Upload' tab.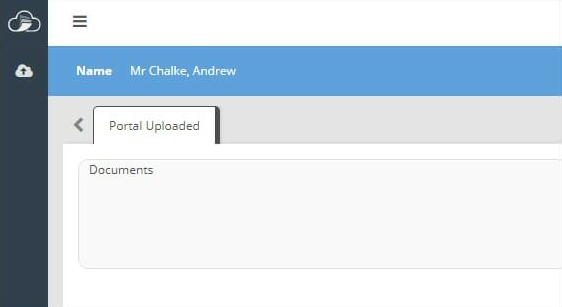
You can modify their 'Tab/Row' access in the 'User Maintenance->Portal' page. Click on the 'User Maintenance' Icon,
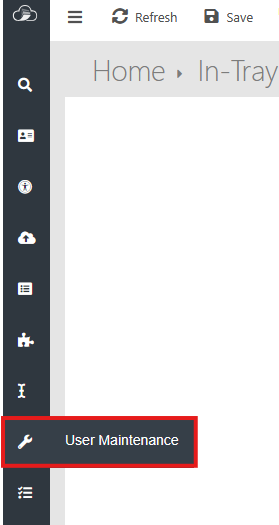
Then, at the top of the page, click the drop down menu where it says 'Papercloud' and select 'Portal'.
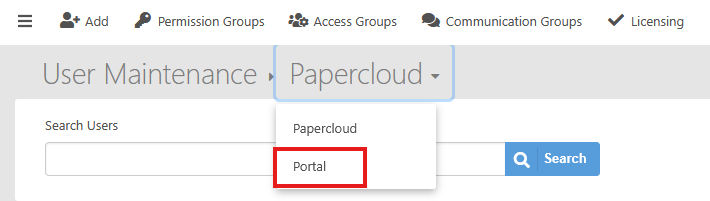
Select the portal user and click the 'Edit' button to the right.

Tick any tabs/rows you want your client to be able to view in their portal.

You can also edit a portal user's access from the client file's 'Portal' menu,

By clicking on the portal user email from the list, its viewable tabs and rows will appear below.

To remove a portal user, start in the 'User Maintenance'->'Portal' Page.
Click on the 'User Maintenance" Icon,
Then, at the top of the page, click the drop down menu and select portal.
Select the portal user and click the 'Delete' button to the right.

The email associated with the client file will still exist and can be removed by editing the client file only after the portal account has been removed.